To set-up your D2L courses, one of your steps should be to prepare for student activation. This is a required step for SMS users.
Steps (click step to jump to details):
Step 1: Understanding Activation.
A student may enroll in a course, but are not (in BC) considered an active student until they meet activation criteria.
Once an OL student is activated, they are considered to be a claimable student by both the OL program and D2L.
The remaining steps (below) explain a method for setting-up an activation process within D2L.
This set-up will also support the SMS processes.
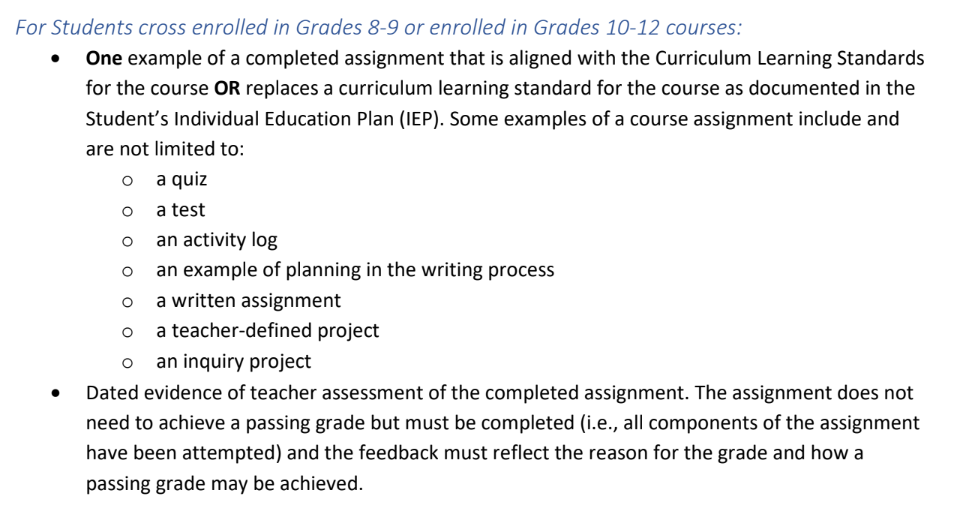
The goal is to efficiently adhere to the MoE activation policy:
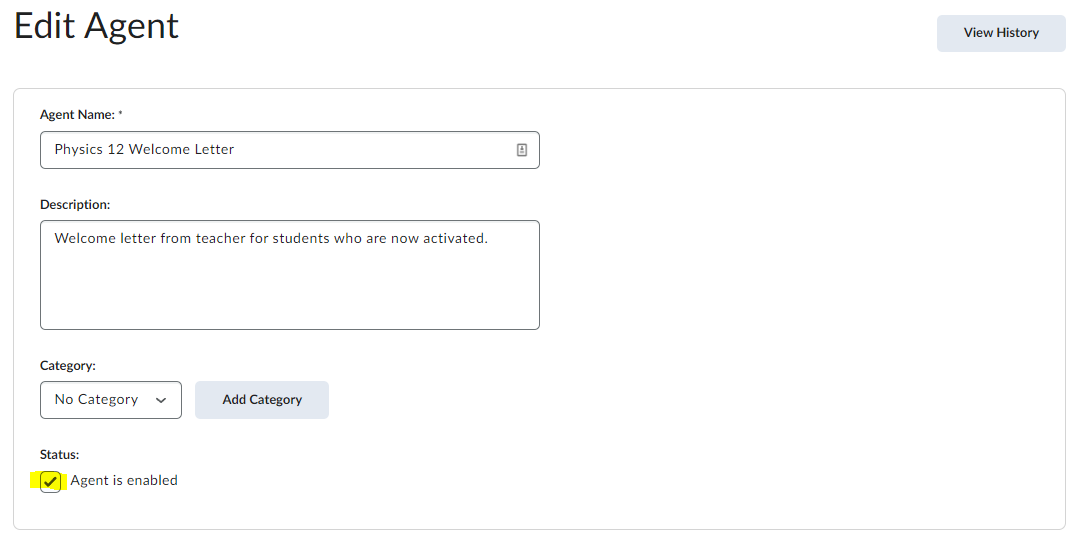
Step 2: Making a "Pre-Activation Learner" account.
D2L super-admins: duplicate the "Learner" role, and name it "Pre-Activation Learner." This role will be necessary for remaining steps. Also, upon making this role, you should contact D2L to let them know that your site will be using the separate roles going forward.
The SMS will (by default) enroll each new student as a "Pre-Activation Learner" and will update when it sees them switched to "Learner" within D2L.
The next step is how we cause the account switch within D2L.
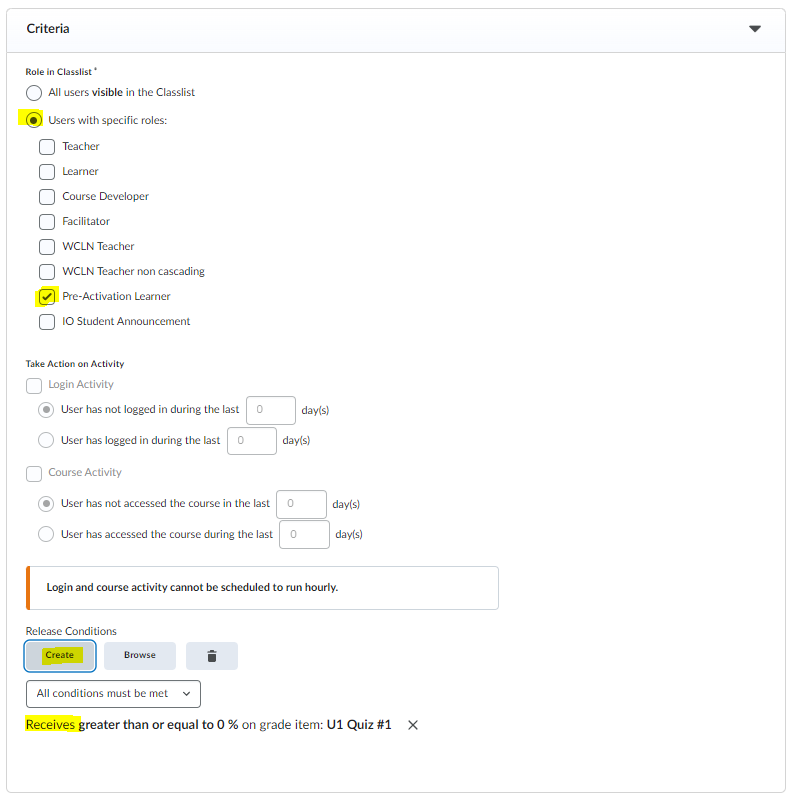
Step 3: Use an Intelligent Agent to Activate.
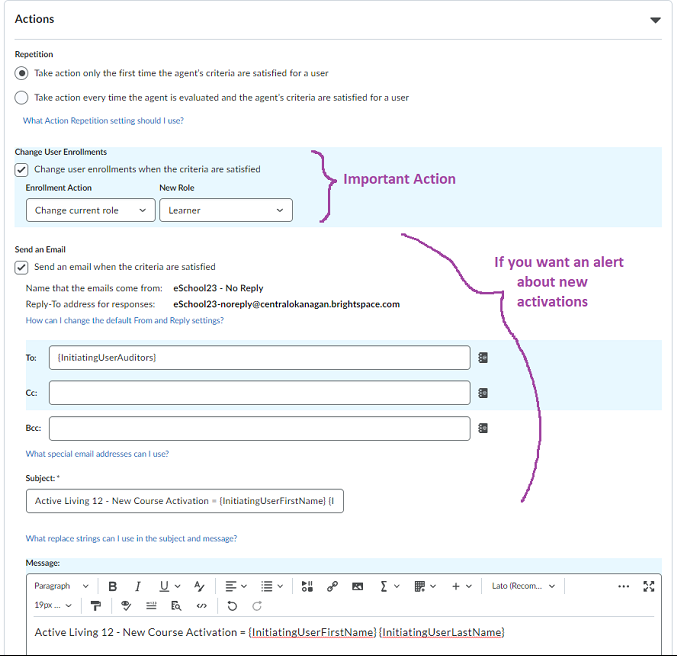
A D2L Intelligent Agent (IA) within each course can be used to switch your students from "Pre-Activation Learner" to "Learner."
In some districts, teachers will set-up their own IA's, while in others, this is done by admin.
Within a course, you can create the IA from scratch, or you can import a sample. Here's how to import a sample IA:
-
- Download file to comp: https://wcln.ca/_WCLN-site/IA_from_PH11.zip
- Course Admin > Import/Export… > Import Components (from a course package)
How to adjust an Intelligent Agent:
-
- Go into Course > Course Admin > Communication > Intelligent Agents
- Click on the respective IA, “Student Activation”
- Check and adjust settings, focusing on the highlighted areas in the example below:
- Note: If unable (as a teacher) to set "change user enrollment," you may need to ask your local D2L Super-Admin to set this for you (or enabling you to adjust: "Roles and Permissions > Teachers > Intelligent Agents > Use Agent Enrollment Actions").
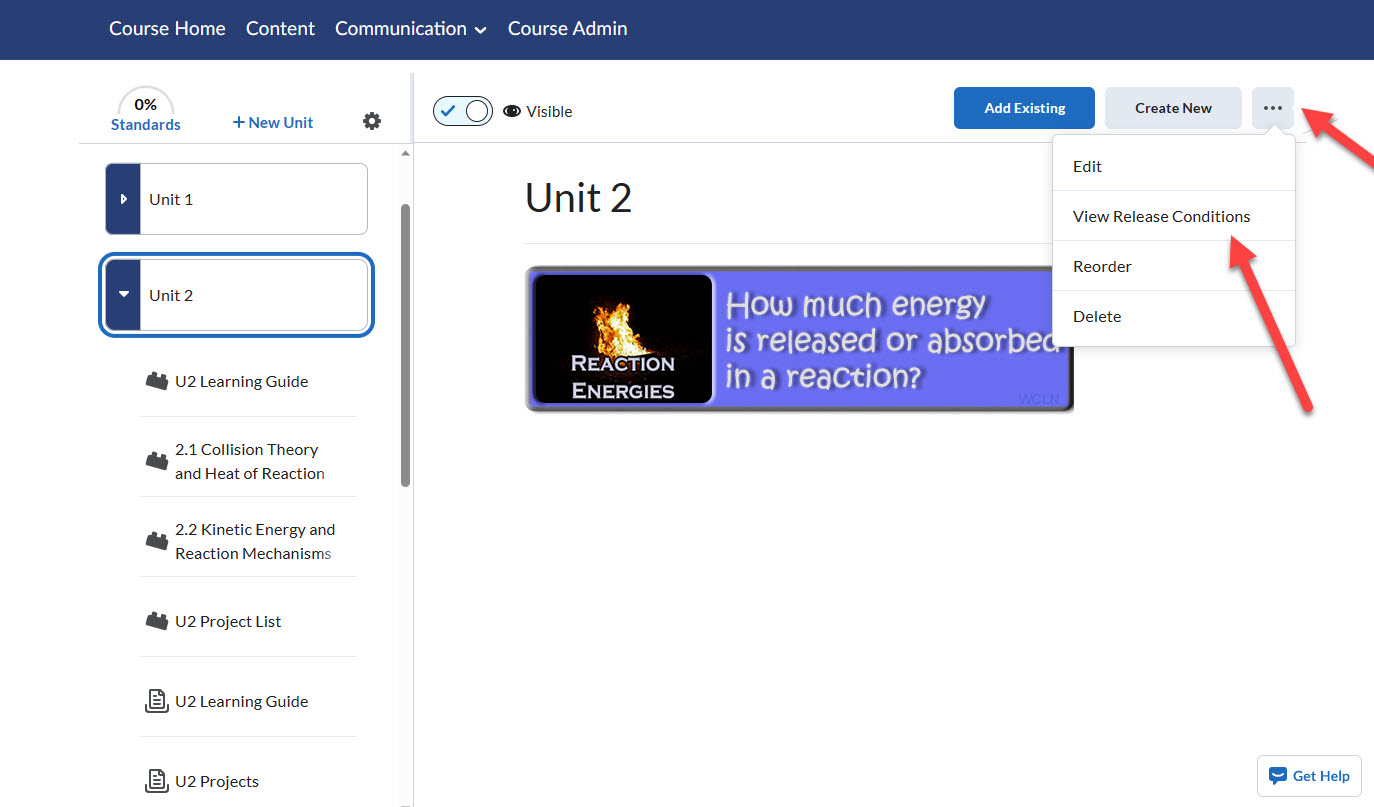
Step 4: Course Release after Activation.
Part of being a "Pre-Activation Student" is not having too much access to the course, as you want students to focus their first efforts on the early assignments. This also aligns with the D2L arrangement around limiting access (along with funding) until active.
Thus, you'll want to block access to the majority of your course UNTIL the activation is complete.
HINT: Once you're done this step, a new student ONLY sees a small part of the course. Note that within D2L, there's no indication to students that they are only seeing a small part of the whole course. It may seem obvious, but you'll likely receive complaints from confused kids/parents when only seeing a small part. Thus, you may wish to use another IA to create a welcome letter and include something like, "Please note that you'll initially only have access to a small portion of the course. After having your Unit 1 work submitted and graded, you'll gain access to the rest of the course."
The steps below show how to block Unit 2 in your course until activation happens. You would do these same steps for EACH of the units that you wish to block. For example, if activation happens in Unit 1, then you might leave Unit 1 open and block Units 2-8.
Create Condition > Mimic the same condition as you did for Activation.
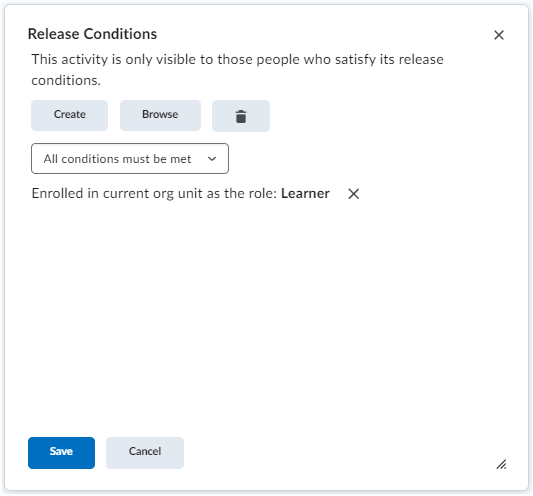
Save
Now, you'll see the conditional release icon on Unit 2:
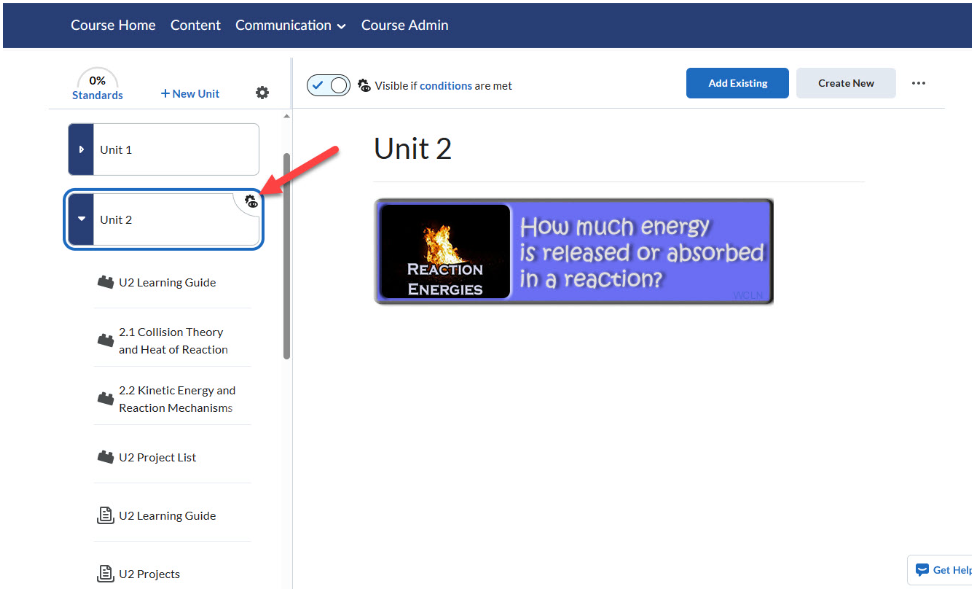
Repeat this process for each remaining Unit.